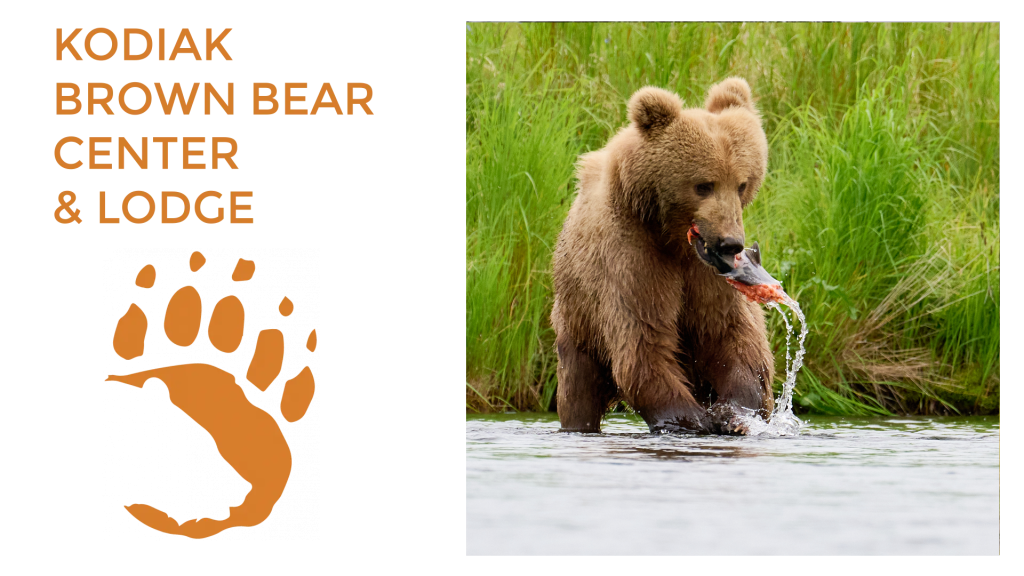

Experience World-Class Bear Viewing
All-inclusive stays from 4 to 8 days on Kodiak Island, Alaska

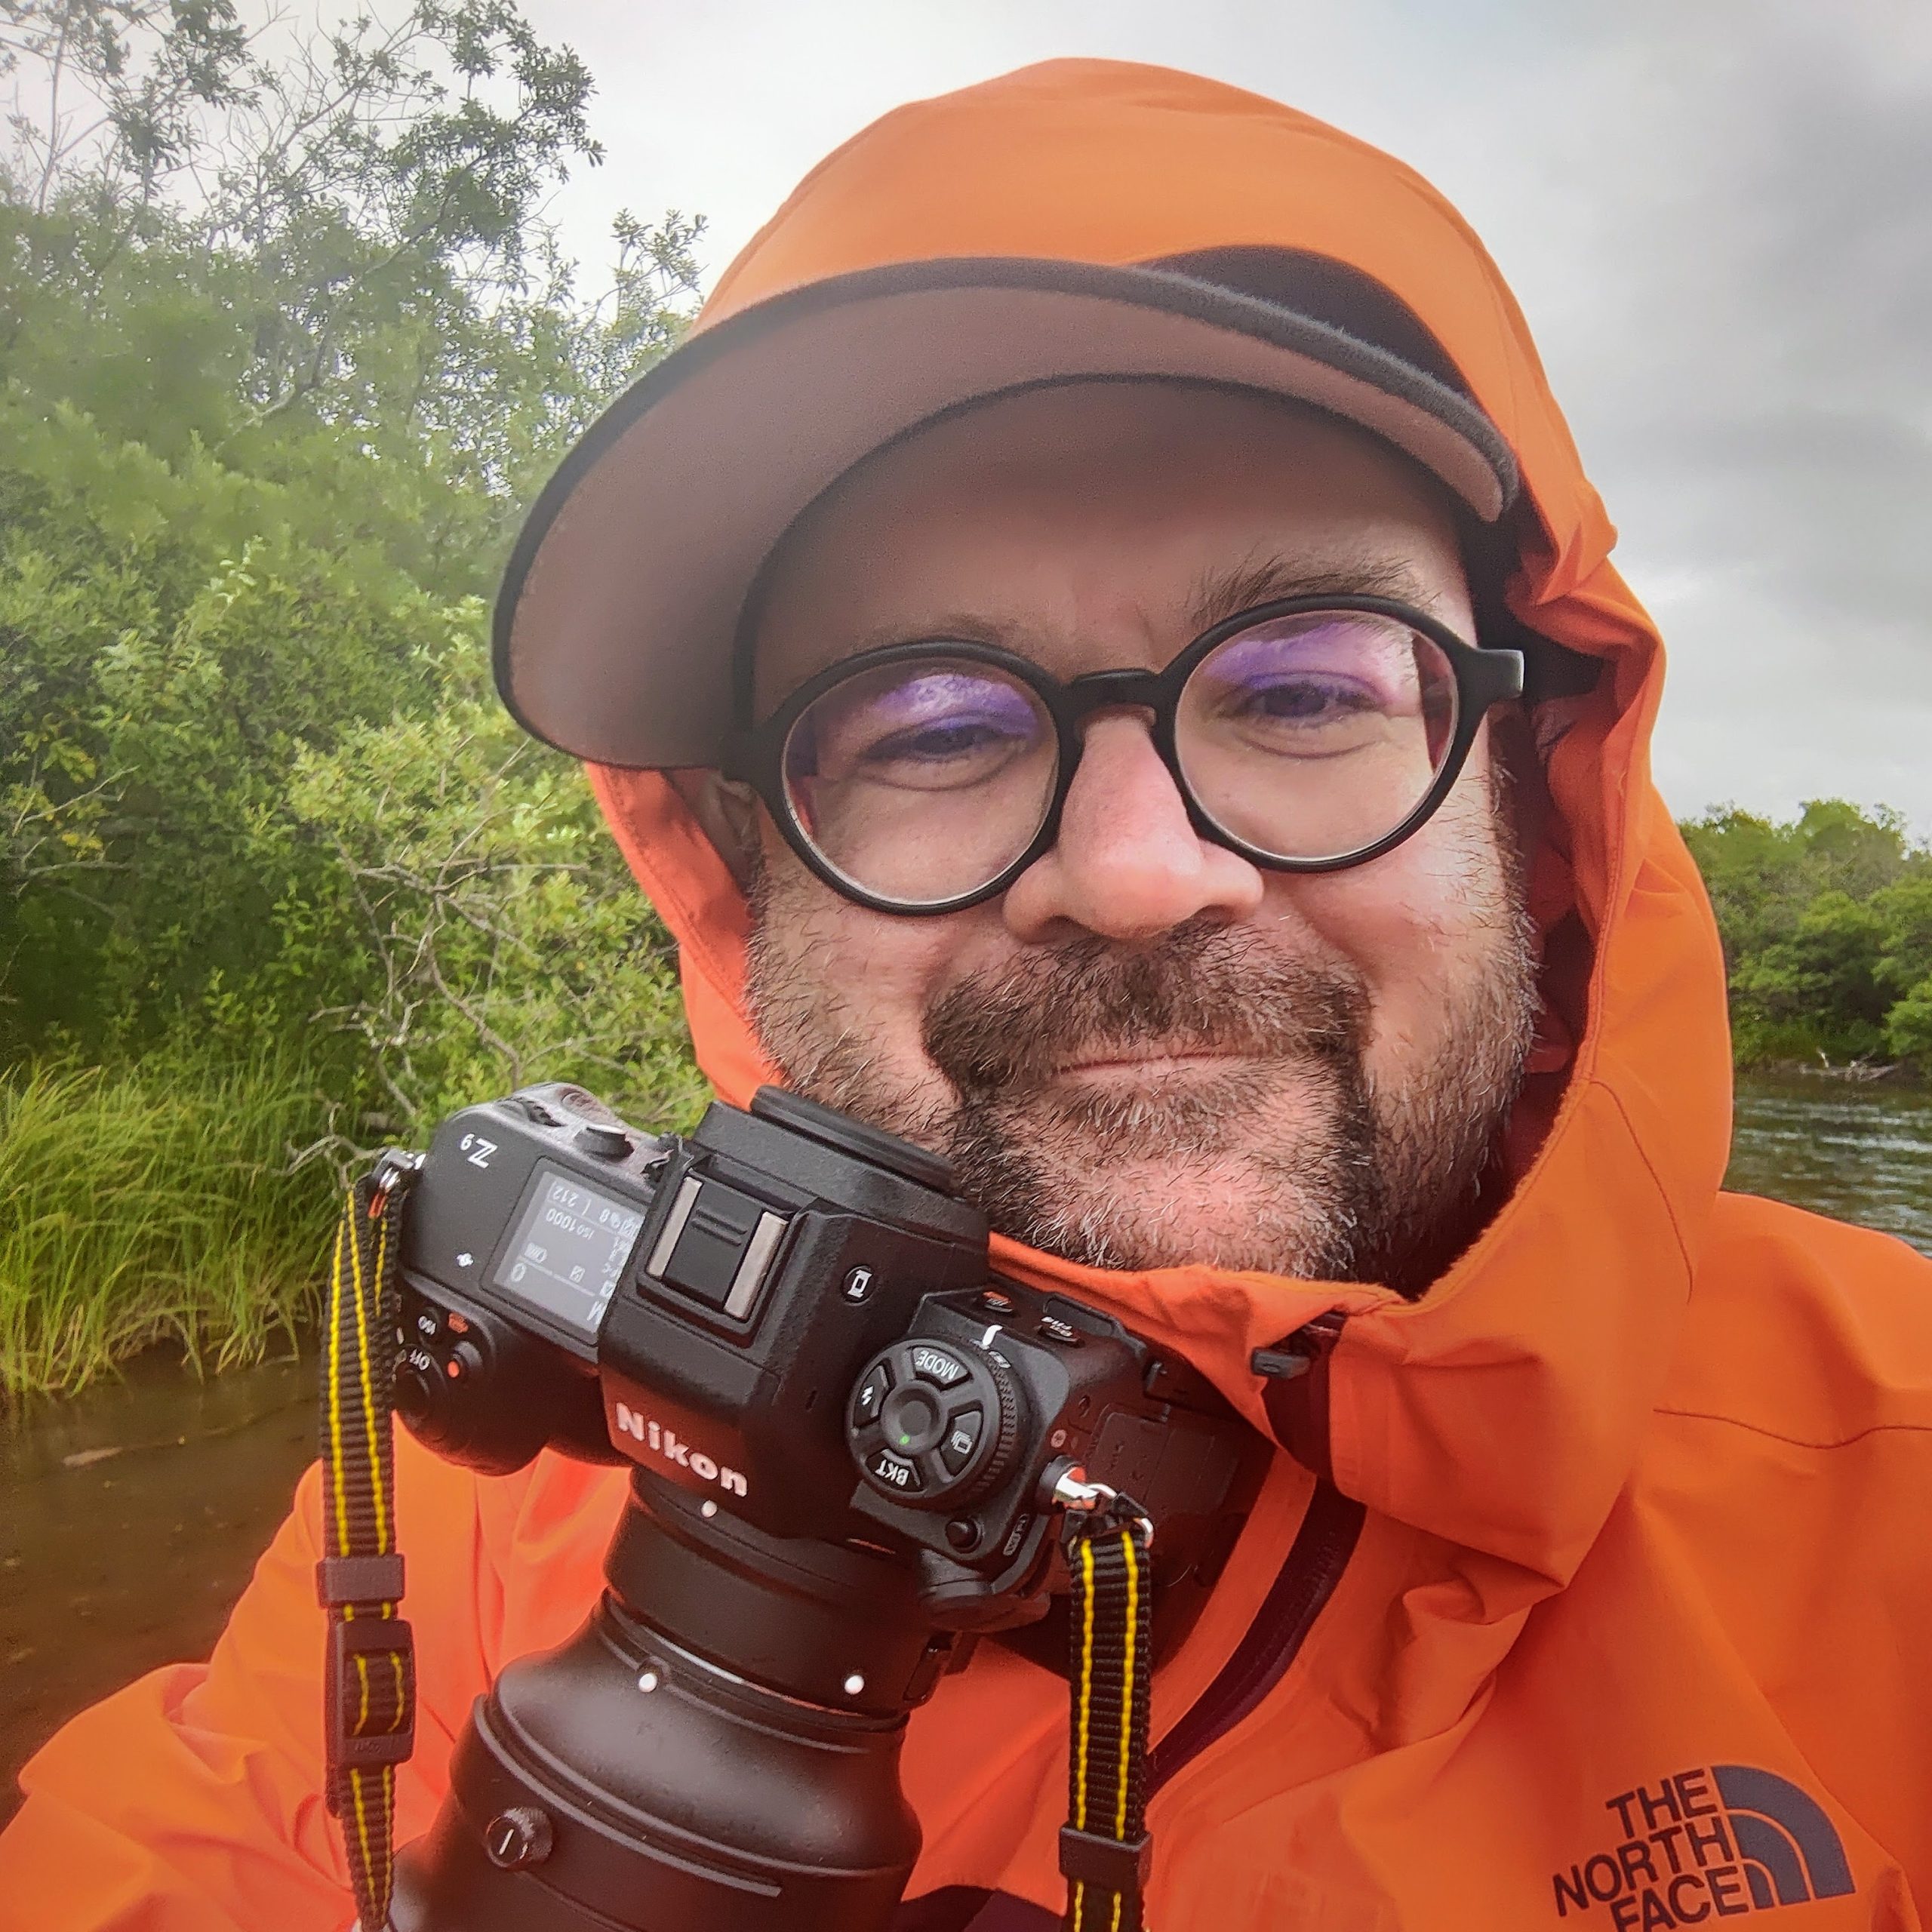
Content Author & Alaska Photographer
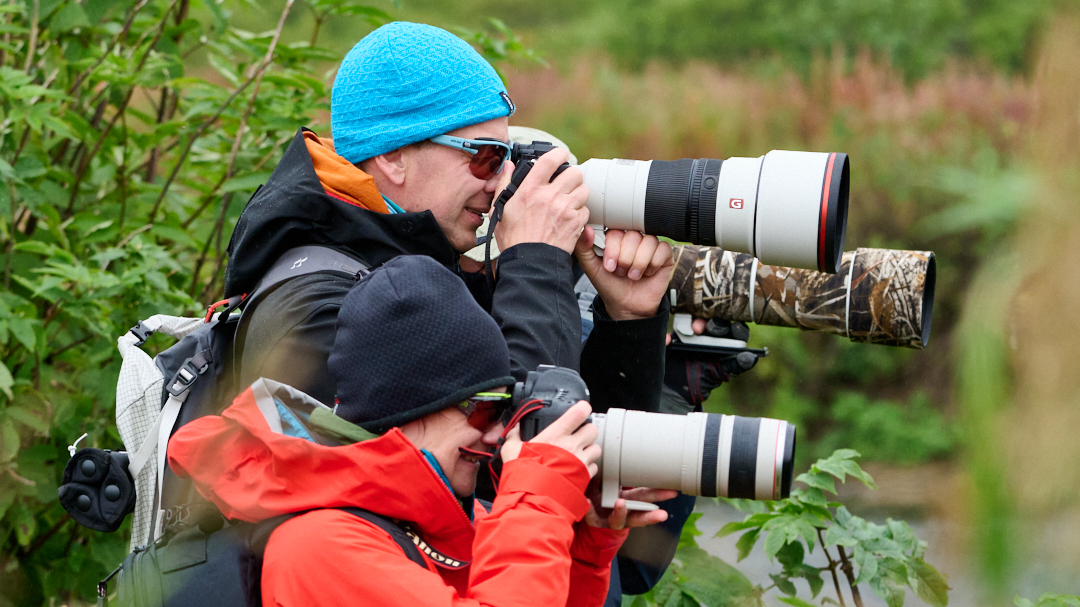
I lead photography workshops at the Kodiak Brown Bear Center and create engaging, high-quality content for blogs and websites across Alaska and beyond. My deep passion for wildlife—especially Kodiak bears—continually inspires my work and fuels my storytelling.